Thursday, May 5, 2011

Thrifty Thursday – Perpetual Chalkboard Calendar

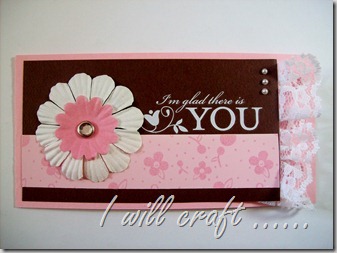
You may realized that today is not a $3 Thursday.  I didn’t want to share more cards so I thought I would share this thrifty calendar.  It is made a few items that cost under $3 so close enough for me….

This was my original idea for the earth day revamp contest but I’m sort of glad that I finished it after the fact so I have it in my home now.
100_7261

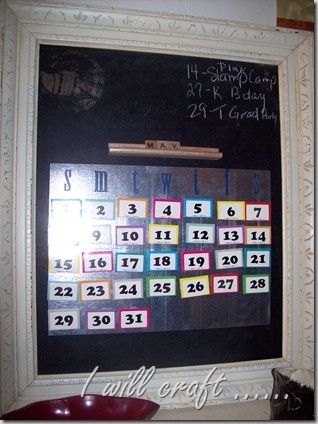
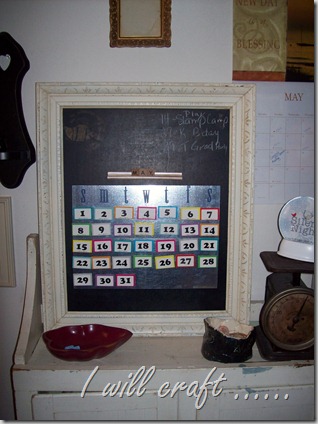
I made a perpetual calendar with metal flashing, game pieces and some scrabble tiles all in a framed vintage chalkboard.
100_7267

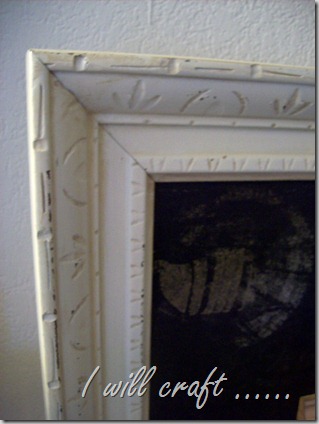
I used a frame I picked up at the Goodwill outlet.  I think it was just over $2.  I don’t remember for certain as it was priced by the pound.

100_7266

I had a vintage chalkboard with a thin, plain frame.  I did have to cut it down a little bit to fit the frame but I made sure to keep the cool horse graphic on it.  I’m assuming it is a horse of some sort.  I can’t read any name or anything else that might lead to the reason for the horse. 
100_7270

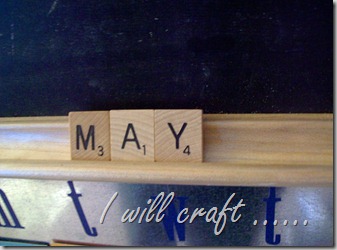
I attached a scrabble tile holder above the calendar and picked up all the tiles needed for each month.
100_7271

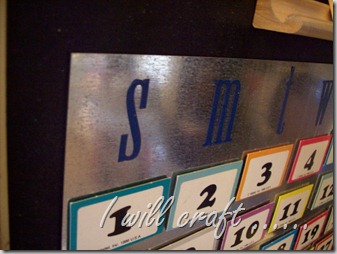
I used four pieces of metal flashing for a magnetic surface for the calendar.  The letters are vinyl scrapbook stickers.

 100_7264

The number pieces are from a game I picked up at the thrift store.  I had to cut the pieces in half to get just one number.  I sometimes look at games to see what type of game pieces they have.  They can sometime make fun additions to crafts.
 100_7268

   Although there is chalk and some space to write I think I might add some Post its to the board to jot notes down.  It is sitting by by front door so would be easy to pick up notes on my way out.  Well, easy if I remember to pick them up.

100_7272

I  like my new calendar and love that the numbers are magnetic so I only need to witch the numbers around and the scrabble tiles to each new month.

Supplies:

Vintage chalkboard           ~ $2, I don’t remember exact cost

Vintage frame                 ~ $2, paid by the pound.

Metal Flashing                 $.22* each, used four

Scrabble tiles and holder              $3 with lots left for other projects

Number game pieces              $1.50 with lots left over

Scrapbook letters                               craft supply

Magnets           ~ $2 – I used about three rolls

Foam tape        craft supply


Total cost    ~ $12**

I paid by the piece for the metal flashing.  They are 5 x 7 and I found them sold in a pack of 100 at Home Depot but asked and was able to buy part of the package by the piece.  Maybe it pays to look hopeless in a home improvement store…. :) 

** I have lots of the Scrabble game and other game left for other projects.

At first I thought I wanted a more eclectic look with various numbers but in the end I decided I like the streamline look of these.  I can always add other numbers if I decide later.  I’m thinking dominoes, mailbox numbers and bingo numbers for start.  The options really are endless.

I’m debating whether I should put this in my Etsy store as it would be a great addition to the store but I just can’t make myself list it…yet. 

Maybe one day.

This weekend there should be lots of garage sales and I’ll be on the lookout for more vintage chalkboards.

What thrifty finds have you found lately?

June

I usually link to these fabulous parties:

Wednesday, May 4, 2011

Goodbye and hello….

100_6950

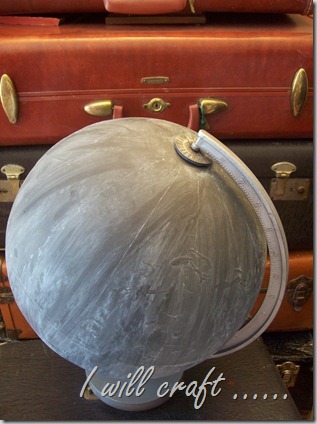
This week I had to say goodbye to my vintage chalkboard globe.  I loved the look of this globe and was a little sad to see it sell.

100_6956

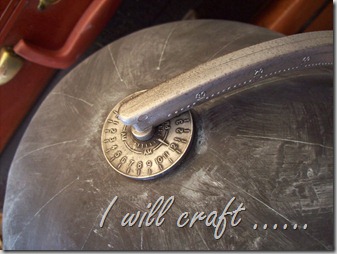
I loved how this makeover turned out, especially the hammered aluminum finish on the metal frame.

But, I’m sure it will have a good home in Pennsylvania where it is going.  Packing it up did help inspire me to finish my second chalkboard globe.

Say hello to chalkboard globe, number two.

100_7241

Isn’t he handsome.  Somehow I think a globe must be masculine….

100_7243

The frame on this globe was a bit different than globe number one.

100_7247

The base is wood and I had a hard time deciding if I should paint it or not.  In the end the hammered aluminum finish won out for both the plastic and the wood.  It was nice to see 'Made in the USA’ on the bottom of the base.

I’m hoping to sell this globe as well and if so I do have globe number three in waiting.  He however is still in it’s original colorful glory but I’m not afraid to paint it if when I say goodbye to globe number two.

You can check out globe number two in my Etsy store along with other fun and funky home décor items as well as my handmade cards.

I’m hoping to find a smaller globe in my price range.  I think a 6” chalkboard globe would be a fun addition to my desk.

100_7242

I wonder where in the world globe number two will eventually call home.


June

I usually link to these fabulous parties:

Garden theme cards

Now, I’m not much of a gardener but I do come from a family of gardeners so a few garden themed cards might just come in handy.

I came across this vegetable paper and a few garden accents.

100_7194

I loved this little garden book and mini pencil.  The book opens and there is a few pages inside.

100_7195

Now if the occasion arises I have a garden card to send to my gardening friends and family.


June

I usually link to these fabulous parties:

Tuesday, May 3, 2011

Spring patio

It’s been a long winter here in Minnesota.  We had a brief look of spring but then it got cool again.  There was even snow in the air a couple days ago. 

Finally today felt like spring again so I made use of the sunshine and warmer weather to update my patio.  I didn’t think to take a picture of it before but here are few shots of my after.  Well, I guess I should say my ‘in progress’ as I still need to add a few plants.  I’m hoping that the weather will stay warm so that I can buy a few plants.

100_7249

I sprayed a few spots of the chair and the table to bring the color back to the wood as the winter took its tool on them.

100_7250

Even if it is cool out I decided to put a few fresh flowers out there to help it feel like spring.

100_7251

The flowers were from a $1.99 bouquet at the grocery store that I’ve been enjoying inside for a few days already.  I put them in water bottles that I cut the tops off of and are in a chippy wicker holder.

100_7252

This small wood holder isn’t going to last much longer but it is a fun looking display for some hens and chicks.

100_7248

As you can see I have mostly empty pots.  The clay pots never had flowers in them last year as I found them late last summer.  I’m not sure what if anything I will put in them this year.

100_7253

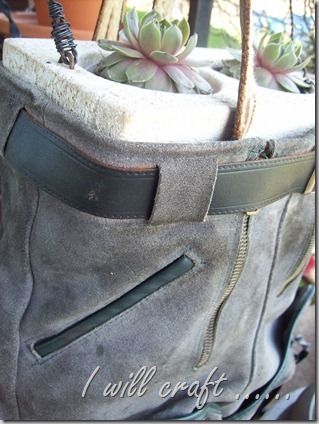
These leather, yes leather shorts were a fun find at the Goodwill outlet thanks to my sister for showing them to me.  I can’t believe she didn’t snatch them up as she is know for her funky gardening planters.

100_7254

For now I put this wood candle holder turned planter.  I’m thinking I would like to figure out how to put a trailing plant in them as I would love to have a plant spilling out of them. 

I can’t imagine some little kid actually wearing these as they are so thick but you can tell they were used quite a bit.  The details are fantastic.  Two zippers, a belt and suspenders.  I know that some sort of decal is missing from the suspenders but I love them the way they are.

100_7255

For now my ‘red’ hen and chicks are calling them home.

100_7256

This strainer is suppose to be all ‘green’ hen and chicks.  

100_7257

I’ve changed the top of my wire plant stand already by adding a coco liner that I picked up at the dollar store today.

100_7258

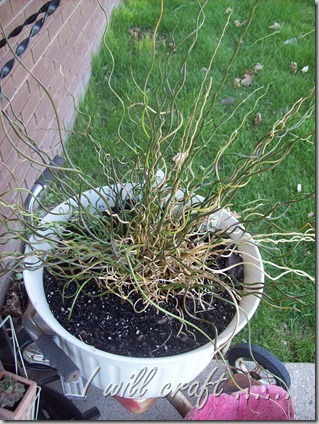
I brought this spiral rush inside for the winter as I thought it was such a funky plant.  I ended up taking over half of the spikes off in the last month of so as they dried up. 

I’m hoping that it will really grow the new pot as it was extremely root bound in the previous pot so I’m sure that was one of the main reasons it is so sparse now. 

100_7249

The globe on the table has a solar powered light inside so it brings a little light to the patio at night.

I’m hoping spring really is here and I can spend some more time outside on my patio.

June

I usually link to these fabulous parties:

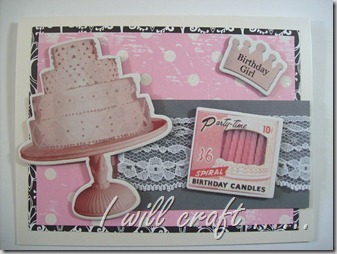
Vintage look birthday cards


I saw a card that I liked so I used the basic design of it for the inspiration for these cards.

100_7191

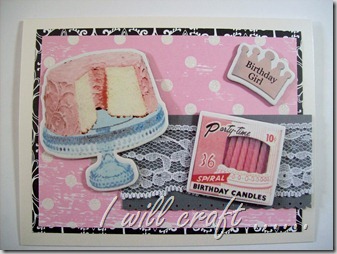
I thought the vintage looking chipboard accents were the perfect accents for these cards.

100_7192

I know the above cake looks a bit more like a wedding cake than a birthday cake but I can imagine having a grand birthday party where a four layer pink decorated cake is necessary…..

June

I usually link to these fabulous parties:
Monday, May 2, 2011

A glamorous babe

I came across this glamorous babe saying from a verse swap years ago and decided I needed to make a few more cards with the pig stamp set that I have.

I thought this one was the most glamorous.

100_7186

I colored with chalk pencils and some glaze pens.

100_7187

I love the brightness of the glaze pens and the added shine with the purple rhinestones.

I think it helps make this one glamorous babe, or in this case two glamorous babes.

If you are interested in this and other cards you can always check out my card assortments in my etsy store.  I can put together an assortment just for you.


June


I usually link to these fabulous parties:
Sunday, May 1, 2011

Pink and Brown Card set

I usually have multiple layers on my cards and sometimes I don’t keep track of how much paper I used when I make cards.  I decided to keep track and show you that you can make 8 cards from 2 sheets of patterned papers and 4 sheets of cardstock.

I started out making birthday cards as I sent out an assortment of 25 birthday cards earlier in the week and so my birthday cards were getting a bit limited.

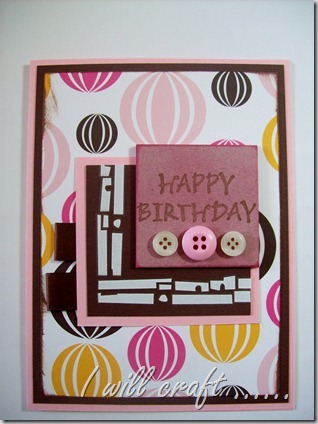
100_7181

I colored a chipboard square with ink, stamped it and added a few buttons then mounted it on brown cardstock with a white rub on border.

100_7182

More chipboard with buttons.  The circle rub on didn’t quite make it around the cardstock so I filled in the bottom left corner with some pearl accents.

100_7180

I made this card out of the patterned paper and a just a smaller scrap of the pink cardstock under the chipboard piece.  I added a few pearl accents to bring a bit of the white to the darker chipboard.

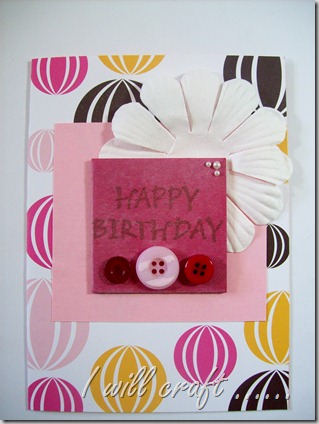
100_7183

I used a flower, button, lace and a small scrap of ribbon for the accents on this card.  I left it blank on the inside for now as I thought it could be used for other occasions besides birthdays, maybe Mother’s day, get well or for a shower.  I can stamp it inside when I decide how I want to use it.

100_7184

Another card I left blank.  I like to make cards where I don’t have to stamp an image.  I can really showcase the patterns of the various papers I have.

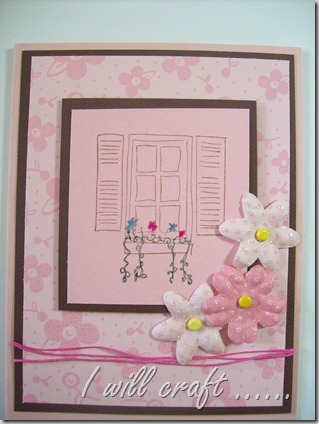
100_7179

I loved this window box stamp when I saw it and finally decided it would be great with this pink glittered paper. 

100_7178

Some scrappers floss and a few glittered flowers brought some additional texture to the card.

100_7185

To use up the last of the pink and brown cardstock I made this smaller card.


I used:

1 - 12” x 12” sheet of patterned paper

2 - 12” x 12 sheets of pink cardstock

2 – 8 1/2” x 11” sheets of brown cardstock

1 – 8 1/2” x 11” sheet of patterned papers


The last card I showed is the smallest at 3” x 6”.  Some of the others are 4 1/4” x 5 1/2” and a few are slightly larger at 4 1/2” x 6”. 

If you are in need of some hand made card be sure to check out my etsy store for card sets I have for sale.

June

I usually link to these fabulous parties: