Showing posts with label frame. Show all posts

Saturday, April 7, 2012

Sneak peaks

I’ve finally had a bit of time to do some crafting and take a few pictures.  Nothing dramatic to show yet but a few quick pictures to let you know that I’m still here and trying to post a bit more regularly.  Not as regularly as I might be posting had I won the big jackpot last weekend with my sisters but we tried.  No big jackpot moneywise but it was a jackpot of a weekend spent crafting with my sisters.

mega millions

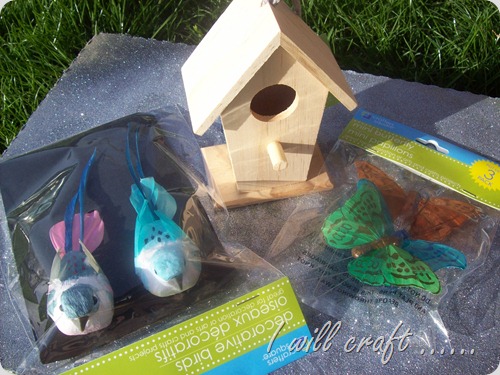
This week I started working on a dollar store craft with a couple fun finds.
100_9468

Nothing finished yet as I had a bit of an ‘incident’ with a can of spray paint.  I’m just saying there is glitter in places that there shouldn’t be.

For another sneak peak, today I did a little work here….

100_9495

Inside my sisters cute, bright greenhouse.

We started with some thrifted frames that my BIL built boxes for and made into planters.

100_9472 100_9473

Here is mine ‘in progress’.

living frame1 Here it is a bit fuller but I’m not sure that it is finished just yet.

100_9483

While I worked on my large frame and putting a few pots back together my sister completed three frames.  Hopefully I’ll have some more pictures to post soon with the completed frames.


June

Sunday, March 11, 2012

So cute I framed it twice

After giving you a sneak peak the other day of my latest craft I finally have a finished project to show you.  It is not what I imagined but I love the results.
100_9431
After seeing this scrolled frame and other similar ones all around blogland and finding out they were only $3 at Michael’s I knew I had to get one, two or maybe a few more. 
I knew they would  be a prefect match for this….
100_9411
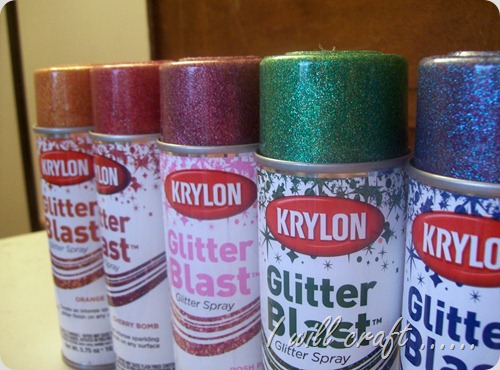
The free Krylon Glitter Blast paint that I won on Mark Montano’s blog last month.  Just look at these wonderfully glittery caps.
100_9415 
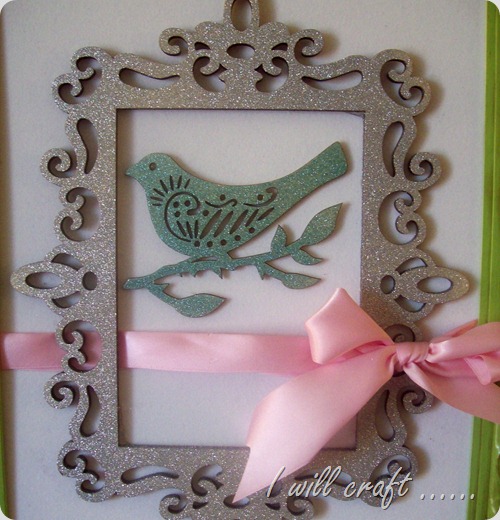
I settled on one frame but that may be because by the time I got to Michael’s there was only this one and two oval ones left. ;)  I did find this cute little bird along with a few other ones and two birdcages so I imagined a sort of specimen art piece using all the birds and birdcages but couldn’t get it to look right.
100_9428
I had this green frame already painted just waiting for an insert so I cut some mat board to size and added some self adhesive velour paper that I’ve had for years in my hoard supply stash.
100_9429
The piece wasn’t large enough to cover the whole inside so I pieced it together but the seam was too visible for my liking.  Luckily I had this great pink bow in my stash waiting to be used.  I thought it helped say spring along with the green frame. 
100_9430
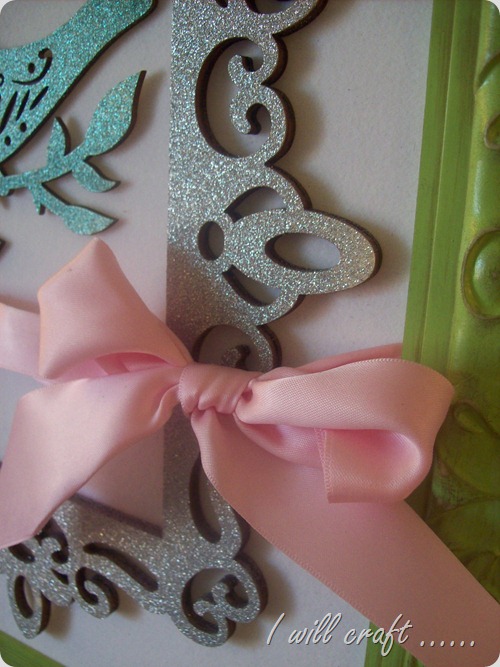
I wish I could have captured the shine and shimmer of this glitter paint.
100_9450
It just shines and makes me happy.
100_9458
I love the subtle difference from the Silver Flash of the frame and the Sparkling Water of the bird.  I only did one thicker coat of paint on both of them.  Did I mention that I think I love this paint?

              Doesn’t this frame make you think of springtime?
 100_9453
Bring on the spring birds.
    100_9457
I decided to put this frame on my door since it won’t get wet and I get to see it every time I come home, what a wonderful soothing welcome.
100_9458
I can’t wait to frame  the other three birds and the birdcages I have to bring a bit more glitter and springtime feeling to my apartment.
 100_9431
What have you been doing to decorate for spring?

June
I usually link to these fabulous parties:


Thursday, November 17, 2011

$3 Thursday – Chalkboard fabric

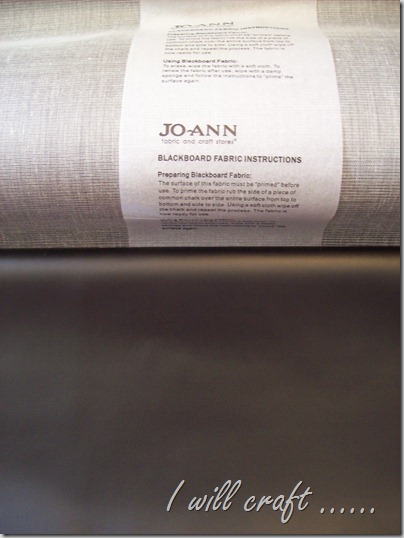
One of the great things about blogging is all the wonderful ideas I find when I’m looking at other blogs.  One recent thing I became aware of is chalkboard or blackboard fabric.  Yes, chalkboard fabric, no priming, drying, painting, drying, painting, drying and painting again.

Now don’t get me wrong, I love my chalkboard paint, especially spray paint but fabric you could cut and shape how you want, I had to try it.  Oh, add the fact that it is relatively cheap inexpensive – sold.  I found mine at Jo-Ann's for $5 a yard.  Use a coupon and you can have ready to use chalkboard for $2.50 a yard. 

It is a thick, vinyl material that sort of reminds me of old vinyl tablecloths.  Since it is vinyl it have a bit of a smell but I noticed that after sitting for a while it dissipates.  I bought my fabric over a month ago and don’t notice any smell now.

100_9179

The chalkboard fabric made this chalkboard a rather quick and easy transformation.

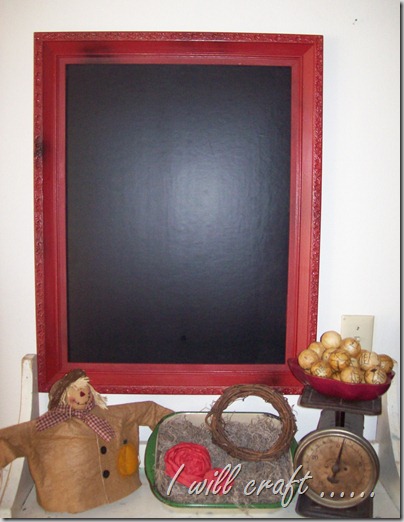
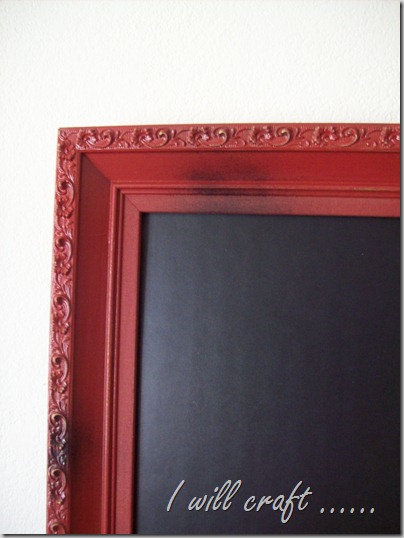
I repurposed this frame with a little bit of paint and the chalkboard fabric.

I took the picture out and sprayed the image with glue and smoothed on the fabric when the glue was tacky.

Quick and simple.

100_9180

I painted the frame with a colonial red paint with a little bit of black and shimmer paint and then I lightly distressed the frame.

100_9181

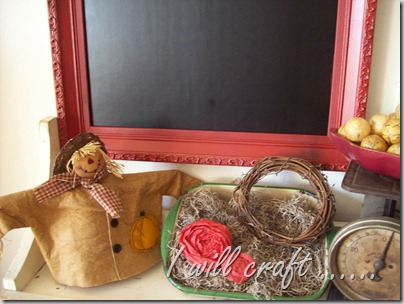
I love the pop of color the red frame gives, to a quick fall decor.

100_9184

  The frame matches my couch and brings some darker color to my living room which it needed.

100_9182

Just like chalkboard paint you need to ‘season’ this with chalk before you write on it so you don’t ‘burn’ your image into it.

100_9179

I’m loving my new chalkboard and have other projects in mind for the rest of the chalkboard fabric I have.

Supplies needed:

Frame - on hand

Chalkboard Fabric – about $2

Spray paint – on hand

Spray glue – on hand

Total cost:  $2 for chalkboard fabric, everything else I had in my stash.


Want to make your own?  Run, don’t walk, ok, well drive to your local fabric store and ask for chalkboard, or blackboard fabric and find a picture frame you can use for your new chalkboard.

June

I usually link to these fabulous parties:

Saturday, August 27, 2011

Canvas to notebook page

A few weeks ago I saw a great canvas notebook idea over on Artsy Va Va.  I knew immediately that I would want to make one.

It just so happened that my favorite godchild that is in college had a birthday this week and I thought it would be a fun gift for her.  Maybe my favorite godchild that is in middle school will get one of these for her birthday….Shh, don’t tell her. :)

100_8110

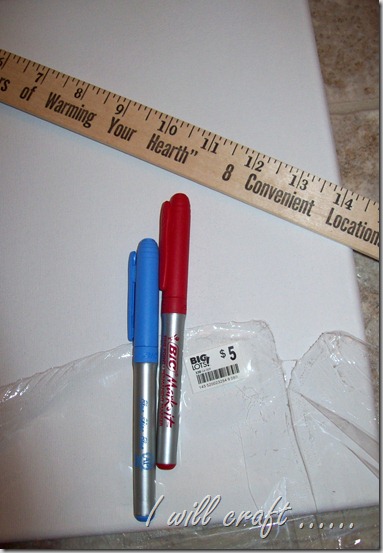
I started with a cheap inexpensive canvas I found at Big Lots.

100_8111

I think it was 16 X 22 or somewhere around that size.  Perfect for my project.

100_8112

I gathered a couple pens and a ruler and started making……

100_8113

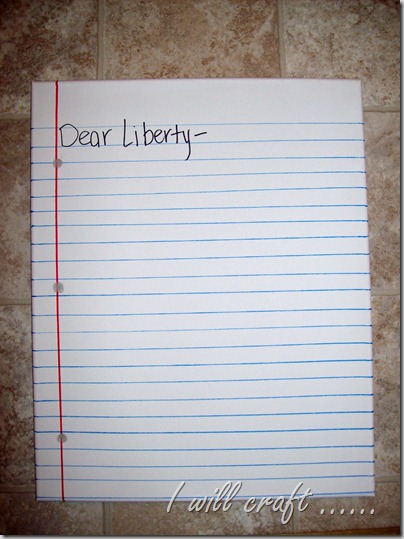
This.  Probably the largest notebook page I’ve ever seen.

100_8114

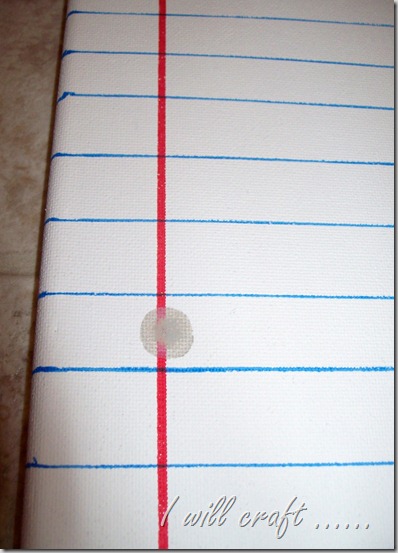
I grabbed some grey paint and added faux holes to my page.

100_8115

I started my letter but wasn’t sure what to write.

100_8116

I didn’t really want to write happy birthday as I think this might be something that she will keep up long past her birthday.

100_8117

In the end I thought a reminder to work hard, study often and have fun was just the right thing.  I even got my teen daughter to write a note and let me tell you that really is a big deal.  She rarely will take a second look at any craft I make much less participate in making it, well in this case writing a note on it.  In the end she wrote a note about an inside joke that will probably have Liberty’s friends and roommates wondering just what they don’t know about her.

I think this is a craft that my daughter might even like for herself one day, she and her friends like to leave notes on their walls.  For now however she said she really have any room on her walls for this.  I’m hoping one day I can make a craft that she might just hang on her wall and enjoy.

A mother can dream, right?

June

I usually link to these fabulous parties:

Tuesday, August 23, 2011

Missy and Fifi

As I mentioned yesterday I wanted to introduce you to Missy and her dog Fifi.

100_8515

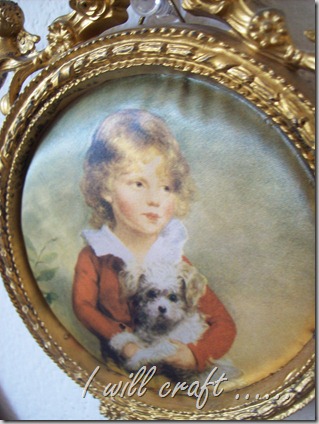
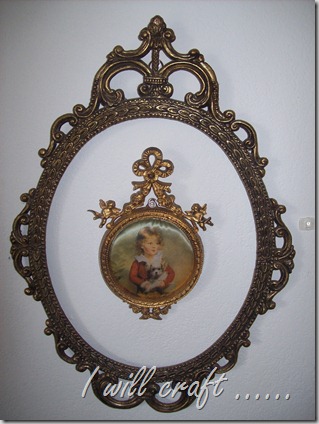
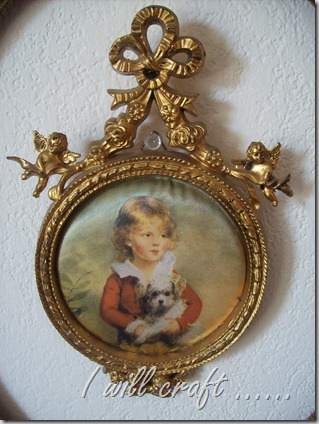
Isn’t she adorable?  She is in a cute little frame that was made in Italy.  I wonder who she really is.  I think Missy suits her just fine so that is what I’m calling her.100_8516

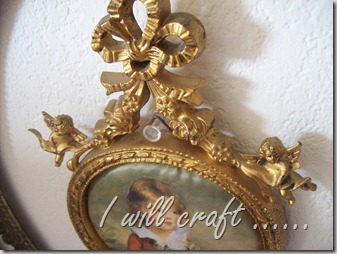
Missy and Fifi (don’t those names just fit them?) are pictured on what I think is a satin fabric.  The whole frame was just so cute with two little cherubs looking over them.

100_8524

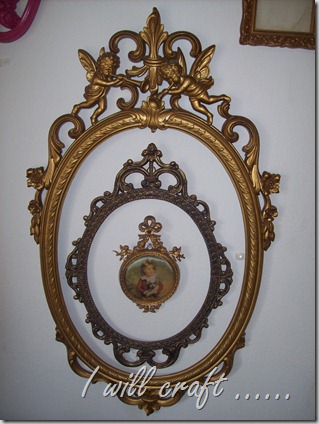
Since this is a smaller frame, less than 8” tall, I decided I needed to bring attention to it by framing it in a larger metal frame I had.

100_8517

Missy and Fifi are so special that they needed a second frame outlining them as well.

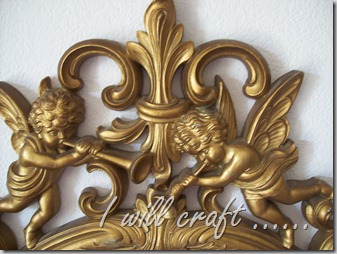
100_8518 Did you notice that the largest frame has cherubs on it too?

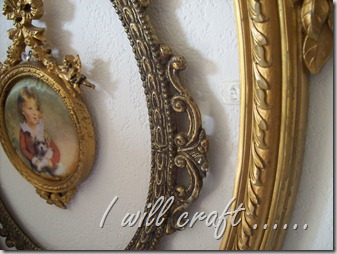
100_8525 The largest frame is from a Goodwill mirror in all of it’s 70’s gold glory.  Usually it is a bit too much for my taste but I love the attention that it brings to Missy and her dog Fifi.  The darker metal frame seems to tone down the gold from the small and large frames.

100_8526

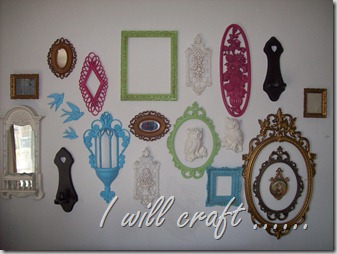
This is some of my latest additions to my gallery wall that has transformed into this.

100_8519

I even framed one of my owls from my owl love post.

100_8520

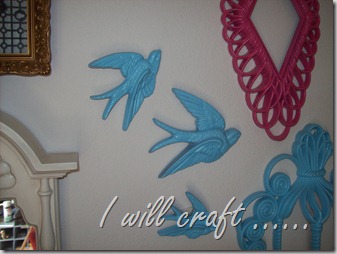
There is lots of color on the wall.

100_8521 A few pieces are waiting to be transformed but I sort of like the mixture of painted and not painted items.  As I makeover items and sell them it has become a sort of revolving gallery wall of thriftiness.  It still makes me smile when I look at it.

100_8523

    Thanks for coming over to meet Missy.

 100_8515

Is it just me or have you named a person or animal in a picture that you have?

June

I usually link to these fabulous parties:

Thursday, April 28, 2011

$3 Thursday–Pattern covered frame

100_7168
I’ve been absent a bit lately as I haven’t been feeling too creative.  I knew I wanted to post something so I took a few pictures of a couple frames I made a few weeks ago.
100_7156
I started with some simple wooden frames that I’ve had in my stash supply for a while.  I’m talking a few years at least.
100_7157
I think I paid $1 or $2 for each of them.  I’m sure I had grand plans for them but I like the vintage feel of these.
100_7162
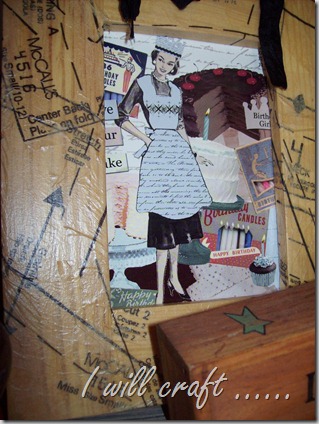
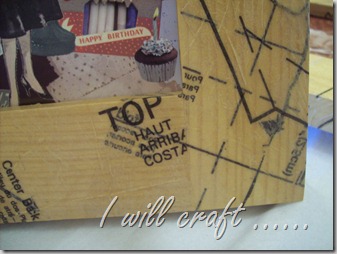
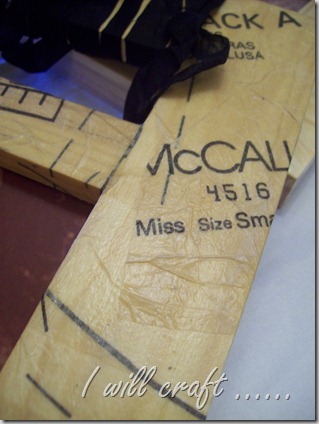
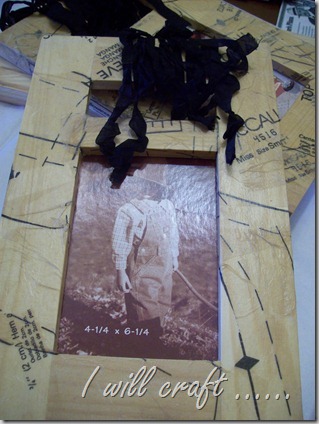
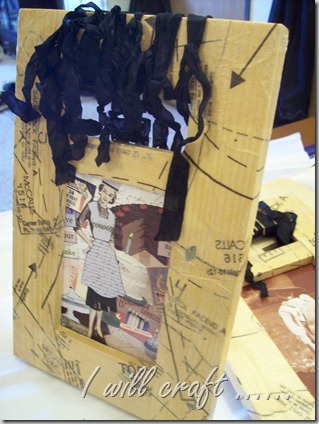
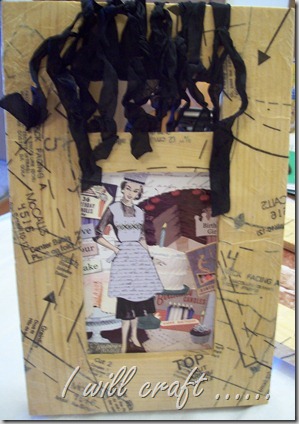
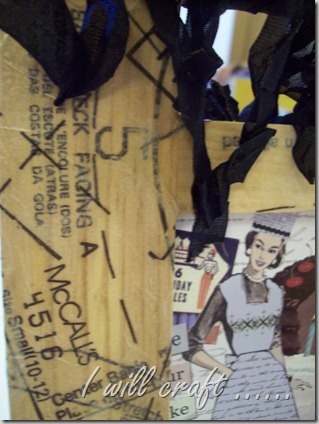
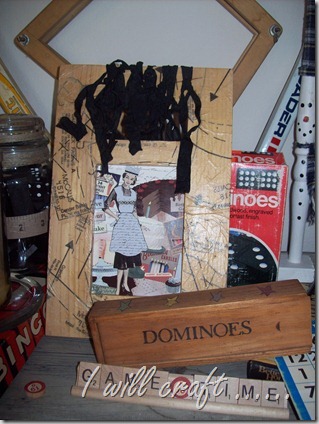
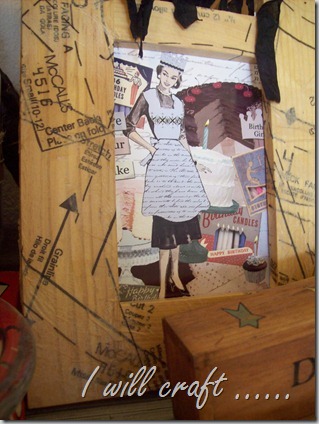
I cut up old patterns that I picked up for free and used Mod Podge to glue it to the frame.
100_7164
I used multiple layers, probably 2-4 layers of the pattern on some parts of the frame.
100_7158
A great thing about these frames is the dowel that can stand the frame up in two ways.
100_7159
I tied on a bunch of seam binding that I crinkled up.
100_7160
I love the graphic nature that the multiple layers of the pattern gives.
100_7161
100_7163
I decided that one of the frames would be a good addition to my hall cabinet that is decorated with vintage games.
100_7166
I think the vintage feel of the frame and the coloring helps it blend right in.
100_7167
The picture is actually packaging from some chipboard accents.
100_7169
Supplies:
Wood frame             $1-$2
Pattern                  free
Mod Podge          Craft Supply
Seam Binding           Craft Supply
Total Cost:       About $2 per frame
This was a fairly quick and easy craft.  I think it took less than an hour to make the two frames.  I kept setting it aside for 5-10 minutes and then took a fresh look at them to see if I where I wanted to add more layers to the frames. 
Once dry I used scissors to trim away the excess pattern from the back of the frames.

June
I usually link to these fabulous parties: